Whether you want to avoid damaging your nails with gel, need something more durable than a regular polish, or just hate going to the nail salon all the time, press-on nails are a fantastic option to level up your at-home mani. Below, we asked three celebrity nail artists for their best tips on how to apply press-on nails the right way, so you can fool your friends into thinking you spent hours at the salon.
Featured experts
- Julie Kandalec is a celebrity manicurist
- Tom Bachik is a celebrity manicurist
- Gina Edwards is a celebrity manicurist
Pros and cons of press-on nails
The great thing about press-on nails is that they’re an easy and quick way to get a mani at home or on the go. “Polishing can be messy and smell when you want to be discreet, like when you are in the back of an Uber on the way to a date,” says Julie Kandalec, a celebrity manicurist and author of the Nail Art Design Book. Press-on nails "add length and shape all in one go, or you can buy natural or clear ones and design them yourself.”
You can choose how long press-on nails last on your fingers based on whether you use sticky tabs (up to three days) or nail glue (up to three weeks). “They are easier to soak off than traditional gel or acrylic, and they come in endless shapes, lengths and designs, too,” says Kandalec.
Unlike pricey salon manicures, press-on nails can be incredibly affordable. However, there are some drawbacks to press-on nails, too. “I think the only real drawback to press-on nails is the wearability—they don’t typically last as long as acrylics or extensions,” explains Tom Bachik, a celebrity manicurist and imPRESS Brand Ambassador. “But some would say that’s actually one of the benefits because that allows you to change your looks more easily.”
Kandalec notes that press-on nails can pop off easily if they aren’t the right fit for your nails, and they can sometimes look fake at the cuticle area. “Also, they don’t fit people with long or arched natural nail beds (the pink part of the nail) well, if at all,” she explains.
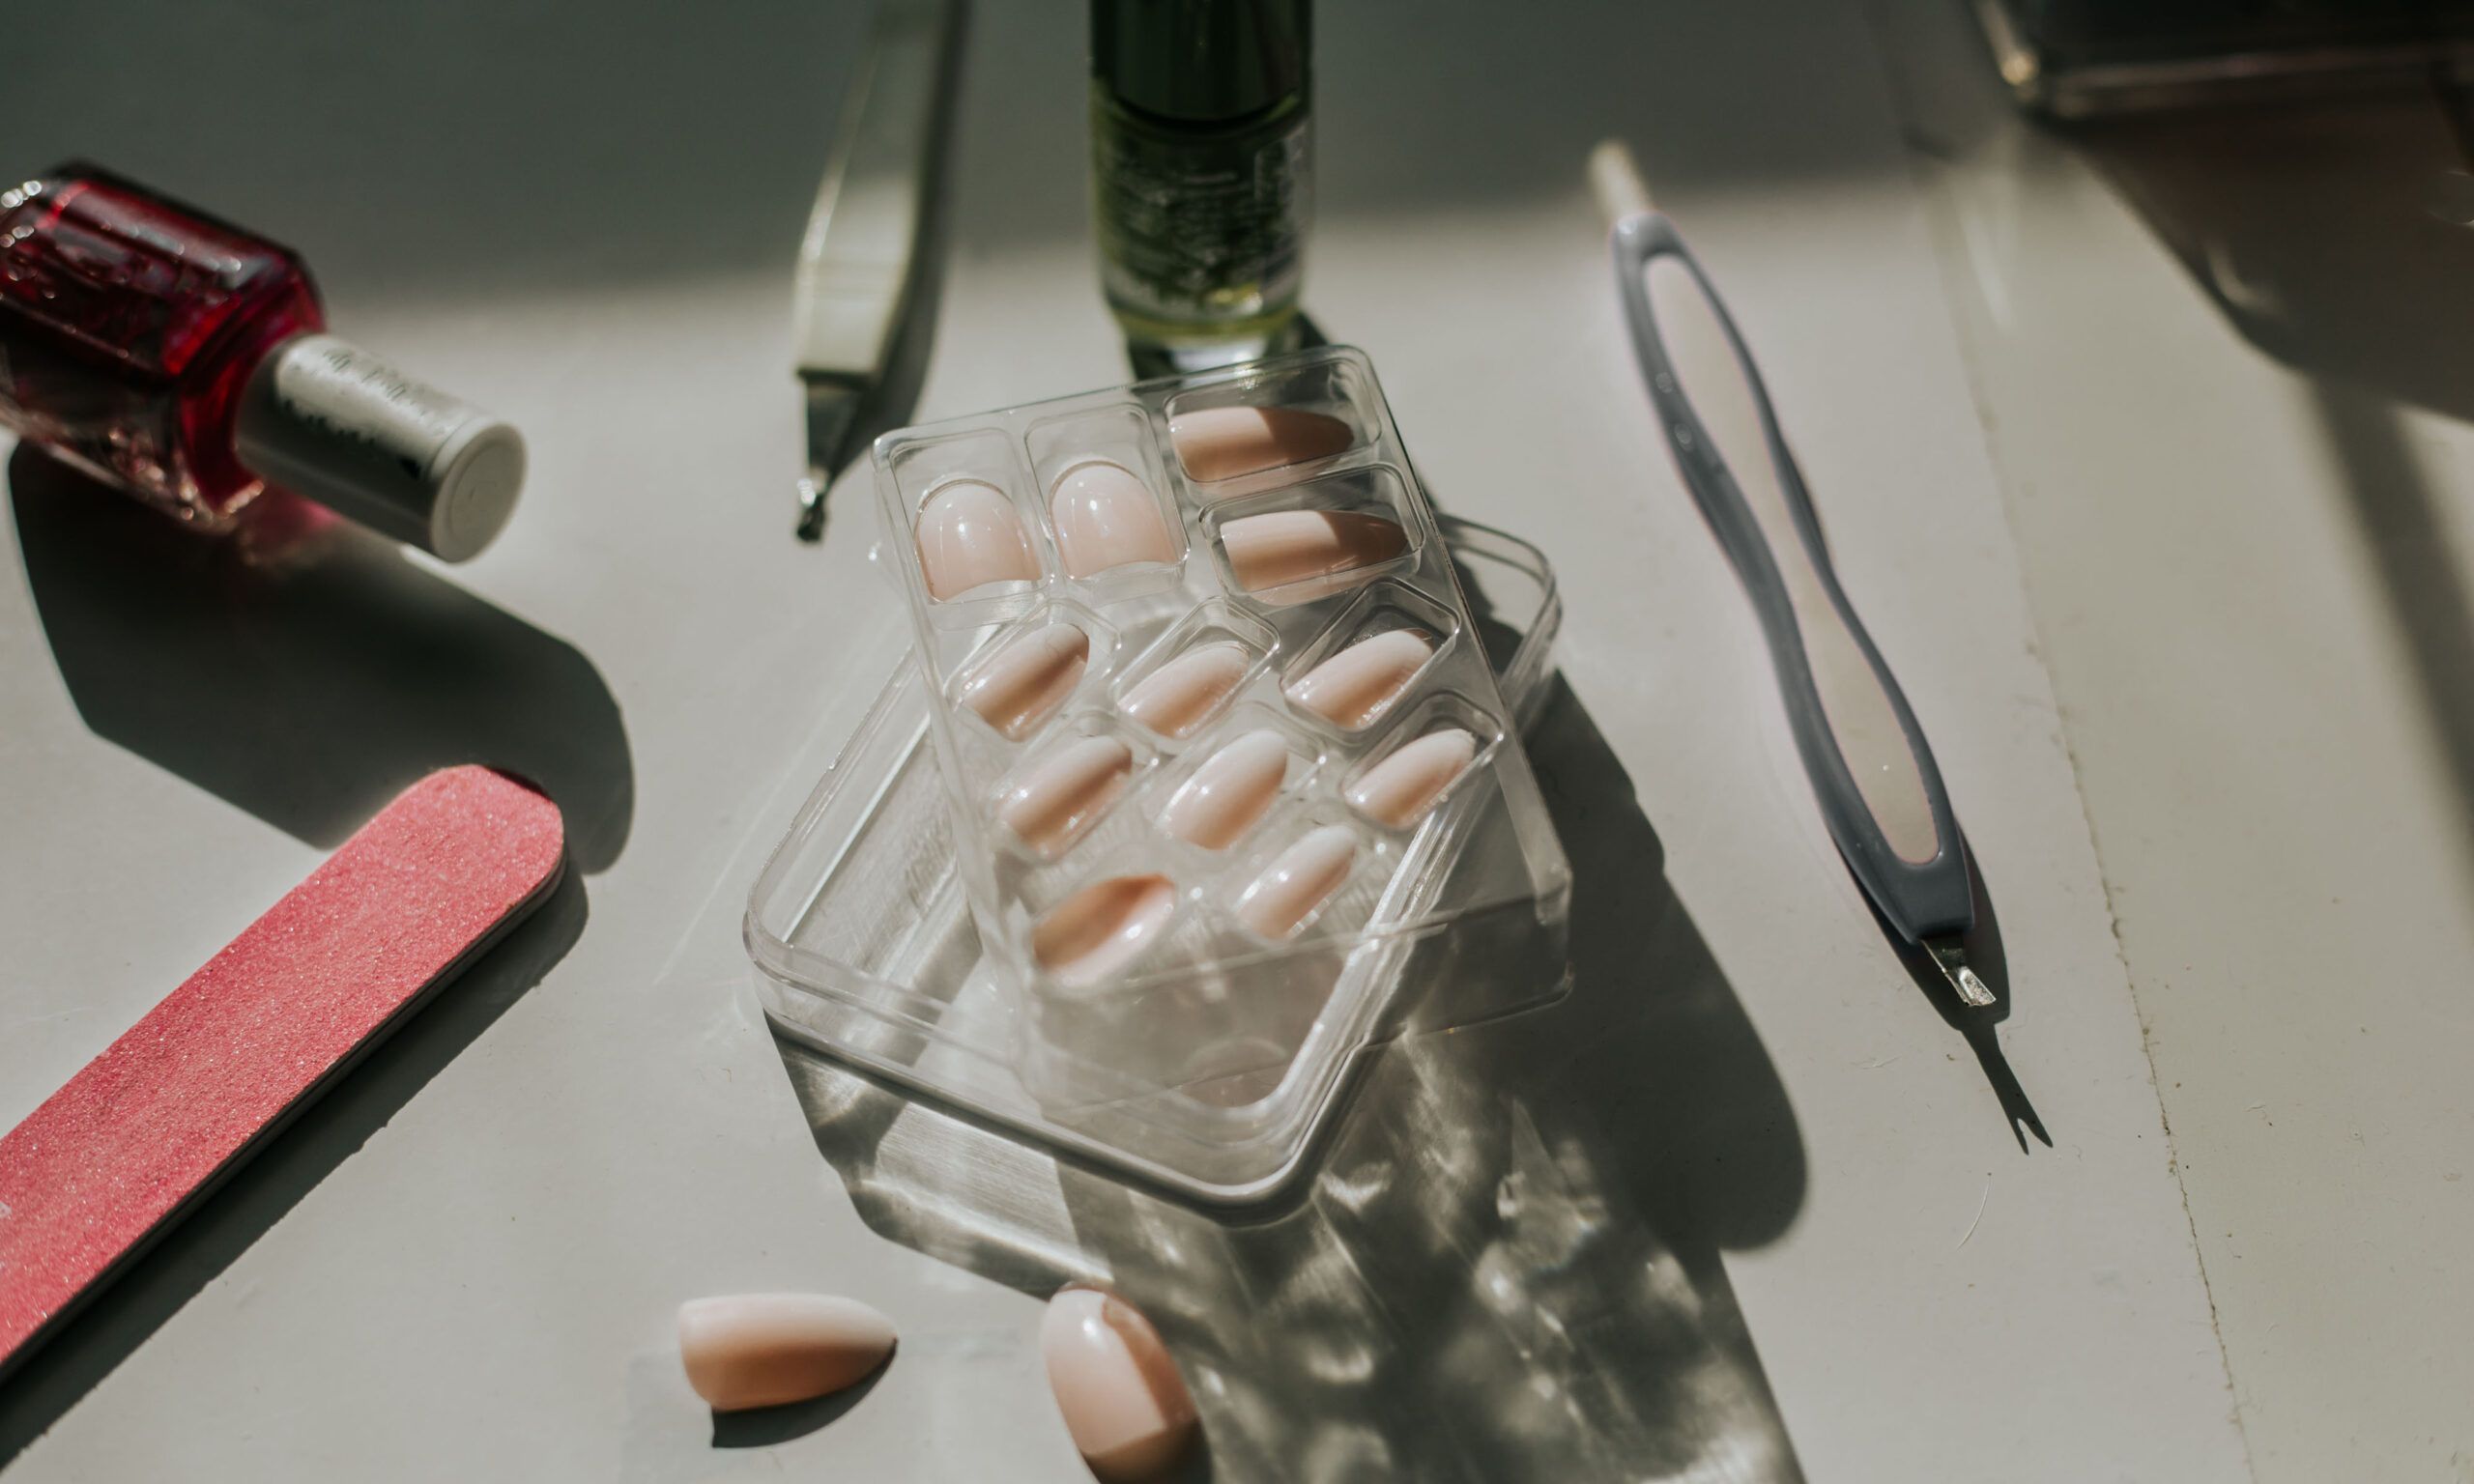
What you need
- Press-on nails, like the imPRESS Press-On Nails ($5) or the KISS Salon X-tend Press-On Nails ($20)
- Nail glue or sticky tabs
- Alcohol- or acetone-based nail polish remover
- Cuticle pusher
- Nail buffer
- Nail clipper
- Nail file
How to apply press-on nails
- Remove gel or nail polish you might already have on your nails.
- Trim or file your natural nails short so the tips adhere better and don’t show underneath or at the corners.
- Trim any hangnails.
- Lightly buff your nails to improve adhesion.
- Prep your nails with 91 percent isopropyl alcohol.
- Make sure to pick out a press-on nail that matches your nail bed size and its curvature, which is key, according to Kandalec. “Be sure the nail doesn’t have to be pressed down on the natural nail to fit, or it will pop off prematurely,” she warns.
- After you have chosen all 10 nails that fit and shaped them perfectly to fit at the cuticle area, take one nail at a time and cover your entire nail with glue or an adhesive tab. “Align the press-on nail along the cuticle line, apply at a downward angle from the cuticle, and press down gently but firmly for 10-30 seconds, based on the adhesive you use,” says Kandalec.
Pro tips and tricks
Properly applying press-on nails that last might take some practice at first. Gina Edwards, a celebrity manicurist and KISS Brand Ambassador suggests avoiding having any type of oil on your hands or nails. “Oil will prevent the longevity of your press-on nails,” she says. “Ensure your hands are clean when you’re applying.”
She also suggests working on your dominant hand first, which will make the whole process easier. Additionally, avoid getting your hands into water right after you’ve applied your press-on—you want to allow them to settle into your nailbeds.
When using nail glue, Kandalec suggests applying a good amount of nail adhesive to your nails to make them fully adhere without air bubbles. “But also, don’t use so much that it spills out as soon as you press the nail down,” she explains.
Make sure to fit the cuticle area to match your cuticle line—not filing this area is a tell-tale sign that they are fake, according to Kandalec. “If you have flat nail beds, go up a size and file down the sides to get a better fit,” she says.