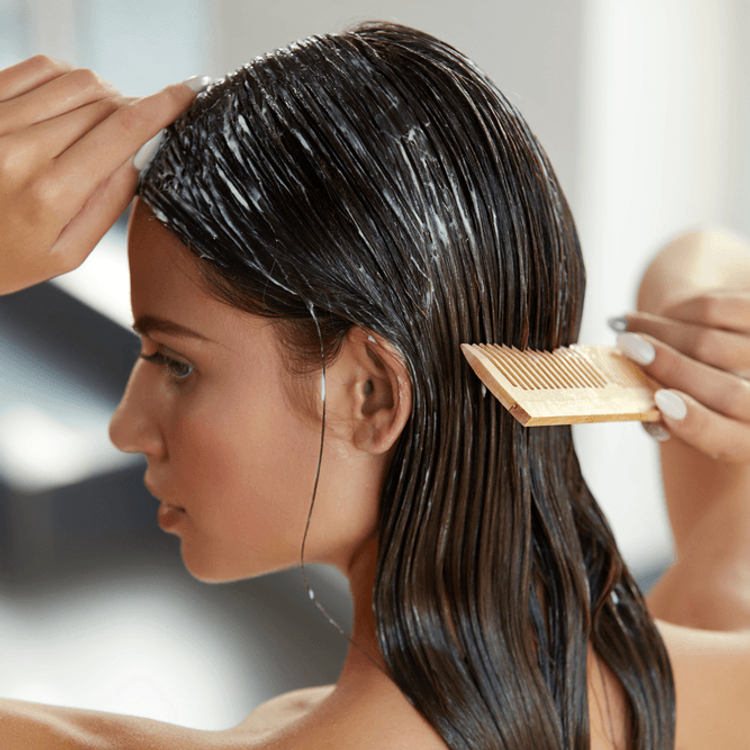
Photo Credits: Shutterstock | Model Used for Illustrative Purpose Only
Seeing a colorist every few months can get really pricey, really fast. And while at-home hair color can quickly refresh your look for a fraction of the cost, it can also go sour at the drop of a hat if you’re not careful. To avoid any at-home hair faux pas, take heed from the pros and follow these painless steps.
You May Also Like: 8 Reasons Your Hair Color Is Making You Look Washed Out
Be realistic.
Celebrity colorist Nikki Lee says you can easily nail a root touch-up at home, but if you’re going after a huge change or complete color correction, it’s best to stick to a professional. Tina Outen, hair stylist for Streeters, adds that if you’re keeping up a professional color at home, to be sure to talk to your colorist to find out what he or she is using. “Then, you can try to match up the numbers as closely as possible.”
However, when you only need to get rid of gray spots, celebrity hairstylist Jhonatan Rendon says to use color spray or a root touch-up rather than trying to dye your entire head. “Don’t forget to part your hair in the desired style prior to applying the root touch-up!”
Not all color is created equally.
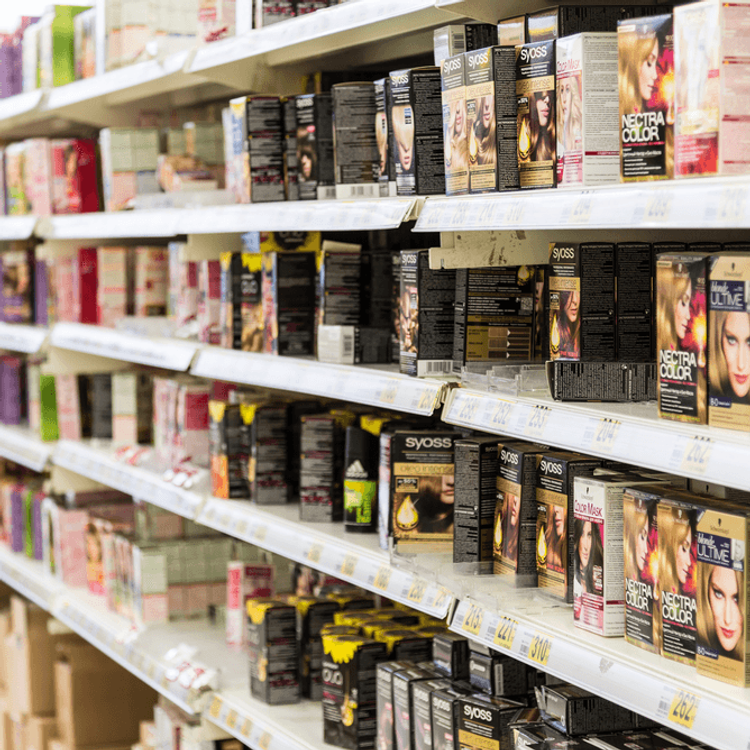
Celebrity hairstylist Millie Morales says taking the time to consider your hair-dye options is crucial. “Select the right color that's ideal for your current hair shade for the best results,” she explains, adding that the boxes usually note what the current hair should look like to receive the ultimate result. “If you’re buying hair dye from the drugstore, make sure that you stay away from ammonia and anything else that is harsh for the hair,” adds Rendon.

Don’t glaze over the instructions.
“Always read all the instructions inside the box to make sure you’re apply correctly and processing your color for the right amount of time,” says Lee. “I love Garnier’s lineup for at-home use because the instructions are crystal-clear and the end results leave hair looking healthy and shiny.”
Know the rules of lightening.
Outen says that if you've already colored your hair and you want to go lighter, you’ll need to use a color remover to take off the color first, then apply your new shade. “If this is the case, always remember to go a couple of shades lighter than you’re aiming for. Your hair will be porous (or sensitive) from removing the previous color and will absorb the color quickly, making it look darker.”
Barrier cream is your friend.
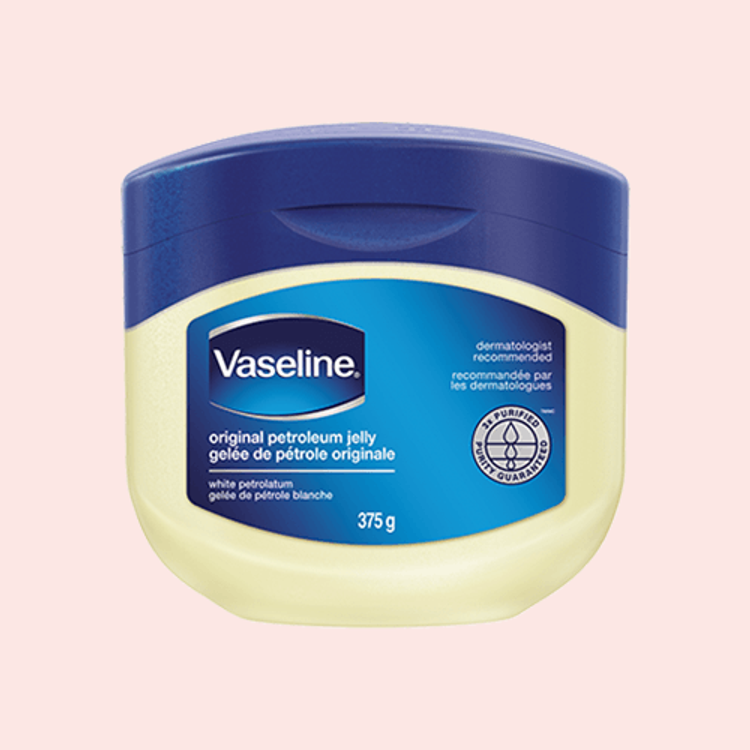
“Always start by applying a barrier cream along your entire hairline,” says celebrity colorist Chad Kenyon. “But, make sure it doesn’t get on your baby hairs—they won’t grab the color appropriately if they’re covered.” Kenyon says he also uses vitamin E cream or Vaseline in the area to keep color on your hair and off your skin.
Prep properly.
“My best advice for at-home color is to always buy more than you think you need so you never run out,” celebrity hairstylist Jessica Elbaum says.
“When you apply color, your hair should be dry, knot-free and not freshly washed,” adds Morales. “It’s always better for the hair to have its natural oil.”
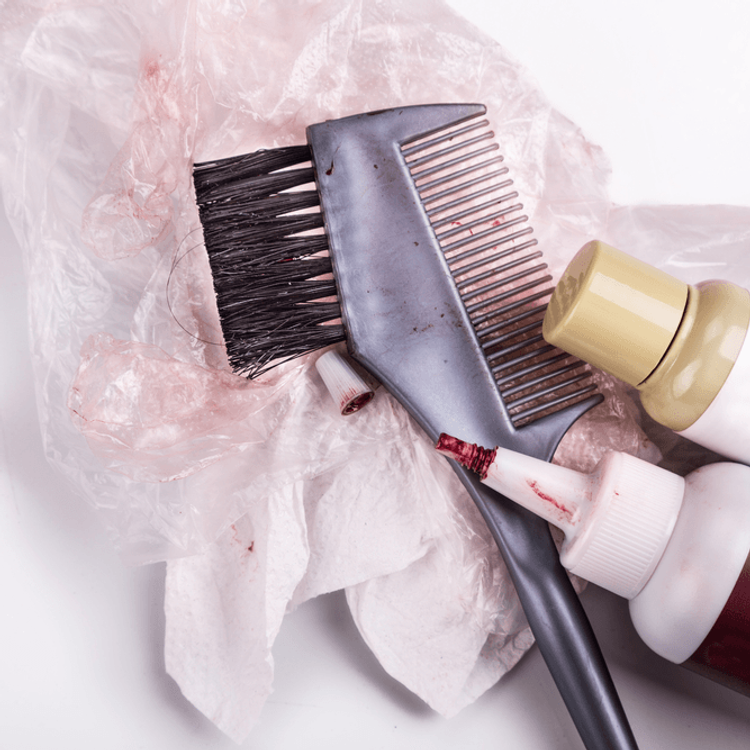
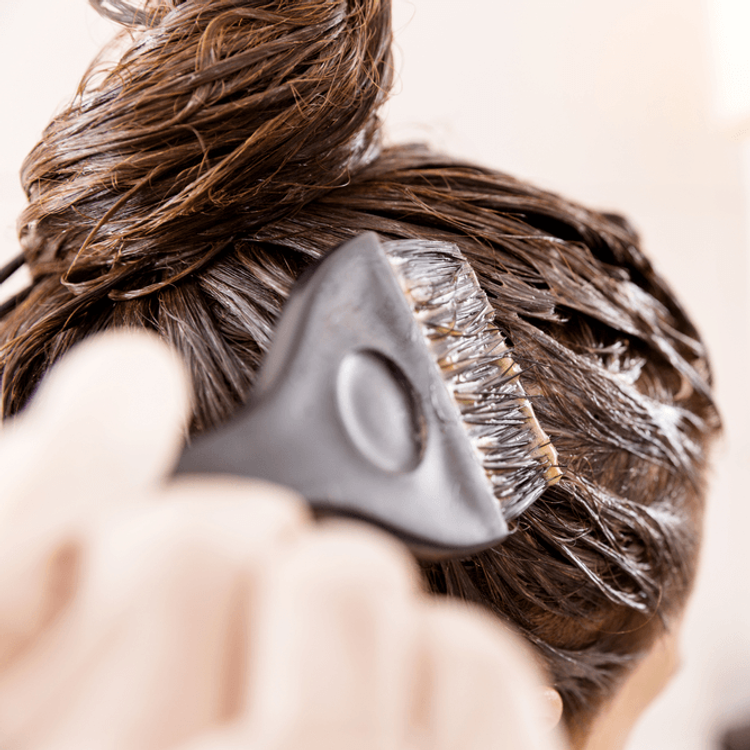
Application matters.
When you’re applying color, Morales says to divide the hair into sections (as many as you need) to help the application go smoothly. “Always start in the back,” adds Elbaum. “Hair is naturally darker in the back and underneath than it is in the very front. Do not pull it through to the ends right away because that is where the hair is most porous and the color will grab faster.”
If you’re going lighter, Outen says to ask a friend to help apply the color to the back of your head where you can’t see it. “The evenness in how the color is applied will determine the evenness of the color.”
Time it right.
“Apply the color as quickly as possible,” says Outen. “Ideally, you want to have the dye on your hair for 30 minutes, so if you take an hour to put it on, then leave it on for 30 minutes, you've over processed the first section of your hair.”
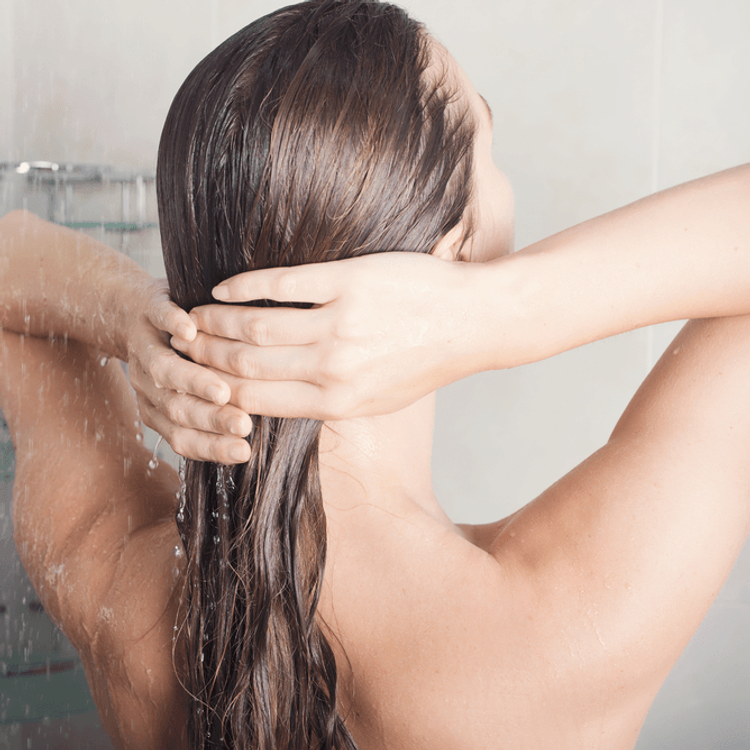
Rinse correctly.
You might overlook this step, but Kenyon says if you’re not careful, it could make or break your hair color. “When you rinse your own hair in the sink, for example, the hair color runs through all of your other hair, too,” he explains. “The further away from the scalp, the more porous hair is so it acts like a sponge and sucks in all of the color where you don’t necessarily want it, sometimes resulting in a muddy, darker color.”
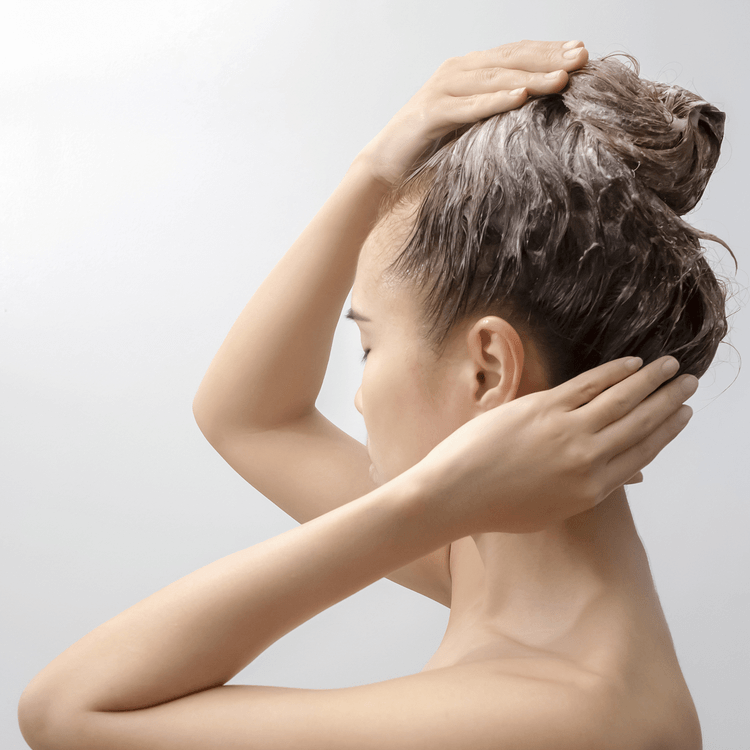
Conditioner is crucial.
We know shampooing after your color is important, but conditioner is just as vital for achieving good color at home. “Conditioner somewhat acts as a neutralizer and closes the cuticle,” Kenyon explains. “I also always like to follow up with a hair primer or detangler to really seal all of the cuticles, too.” Using a lightweight hair oil on damp hair will also make for high shine and good moisture.

Do damage control.
The barrier cream should shield your skin from any hair color, but if it does get onto your skin, Kenyon says you can use rubbing alcohol to take it off. Once you've achieved your ideal color, applying a nourishing hair mask weekly to keep it looking bright and shiny is key to perfect, look-at-me hair.